Historically, setting up deep learning stacks with GPU support has been a hassle. This was because of poorly documented version conflicts between NVIDIA drivers, CUDA, CUDNN and your DL library of choice (PyTorch and TF for me). I remember having spent hours on setting up Tensorflow because its docs didn’t say which NVIDIA driver was required. Documentation these days is miles better but often omits one of the most user-friendly ways of developing for Deep Learning: containers.
Stacked and ready to roll.
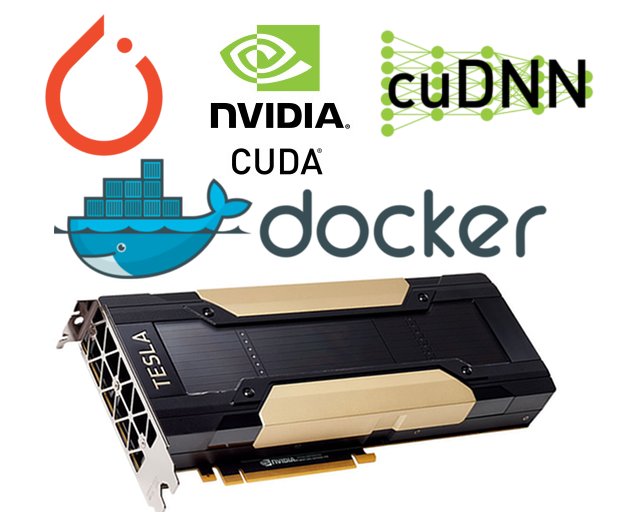
Recently, Docker v19.03 has received full support for NVIDIA GPUs (before you had to use NVIDIA’s custom fork.)
People have been rolling their own containers with PyTorch + CUDA + CUDNN for quite some time now. But little known is that an official release exists of PyTorch with the GPU stack. Presumably, the existence of a CUDA-enabled container is little known because it is undocumented in the official PyTorch documentation and is hidden behind the Tags section of the PyTorch Docker Hub repo.
NVIDIA GPU Cloud also has a PyTorch image but requires new GPUs with a CUDA Compute Capability of 6.0+.
My Tesla K80 DL and Pascal V100 equipped servers fall below that and my poor notebook only has an 840M with CC 3.5.
The NVIDIA GPU Cloud image will detect your GPU and CUDA just fine but will fail when trying to actually use the device.
If you’re running into Cuda error: no kernel image is available for execution on the device when trying to load Tensors on your GPU with those images.
That’s the undocumented reason.
Requirements
- Docker v19.03: Installation instructions here.
- NVIDIA driver: Probably already installed but official instructions here.
Steps
-
Pull the prebuilt PyTorch Docker image with CUDA + CUDNN:
Go to Tags tab of the PyTorch Docker Hub page, select the latest developer image (ends indevel) which has CUDA and CUDNN in the name:docker pull pytorch/pytorch:1.4-cuda10.1-cudnn7-devel - Run the images:
docker run --gpus all -it --rm --ipc=host -v /localdir/:/containerdir/ --name mypytorchproject pytorch/pytorch:1.4-cuda10.1-cudnn7-devel--gpus allUse all available CUDA enabled GPUs. Use--gpus '"device=0,1"'to specify specific gpus.--itmeans it will run in interactive mode.--rmwill delete the container when finished.--ipc==hostUse the host’s inter-process communication namespace in using shared memory. If you use Torch multiprocessing for multi-threaded data loaders, the default shared memory segment size that the container runs with may not be enough. Therefore, you should increase the shared memory size with this option. You can also manually set the size with--shm-size=.--v /local_dir/:/container_dir/: local_dir is the directory or file from your host system (absolute path) that you want to access from inside your container. Mount your project directory here with code and data to work on it from inside the container at the /containerdir/ path.--name mypytorchprojectassign a name the container for future reference so you can simply typedocker start mypytorchprojectto start the container with these run settings.
- Test if your container truly is using CUDA-enabled GPU:
  $ python -c "import torch; device = torch.device('cuda' if torch.cuda.is_available() else 'cpu'); print('Using device:', device); torch.rand(10).to(device)"
  > Using device: cuda
You’re done, a deep learning stack that just works!